
Cabinet hardware for Chicago kitchens: knobs, pulls and hinges
Hardware is the part of your cabinets you touch every day. Here’s how to choose the type, finish and size, and exactly where each piece should go.
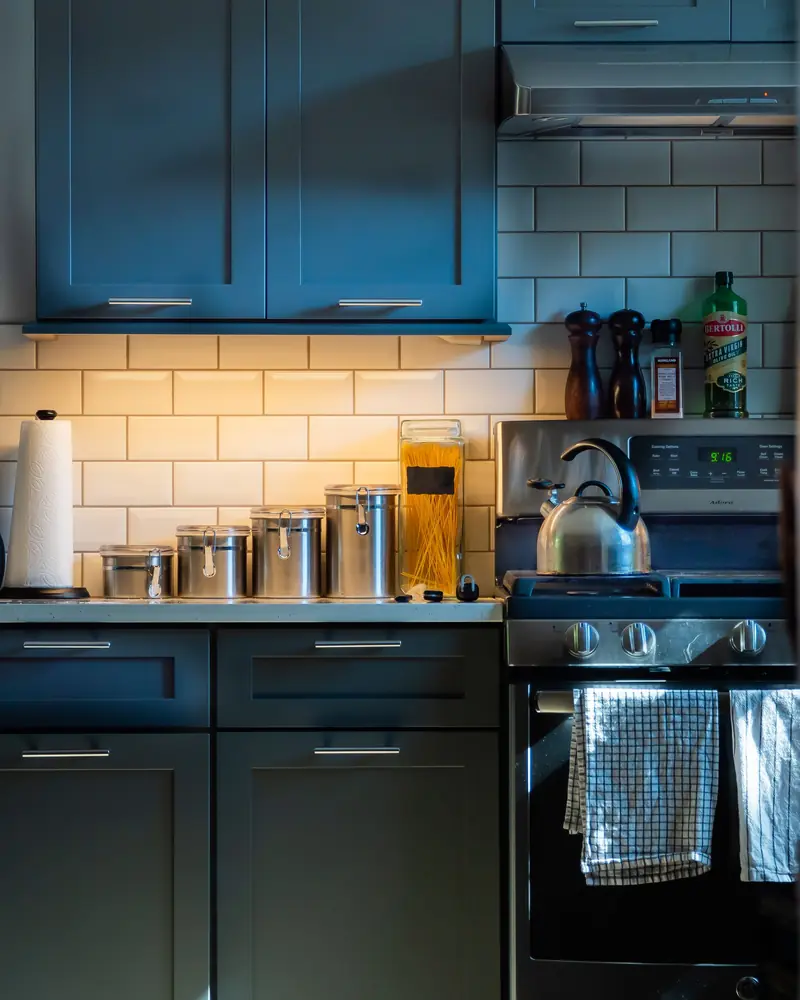
Small parts that get used every day
Cabinet hardware gets more use than anything else in the kitchen, so it has to feel solid in your hand as well as look right. For the kitchens we reface in Chicago and the suburbs, choosing cabinet hardware comes down to four decisions: knobs or pulls, the finish, the size and the placement.
Because refacing replaces your doors and drawer fronts, you aren’t tied to the old screw holes. Every piece is drilled fresh for the new doors, in the size and position you choose.
Then there’s the hardware you don’t see: the hinges and drawer glides that decide how the cabinets open and close. Those are covered further down, along with the trim that finishes the top and bottom of your wall cabinets.
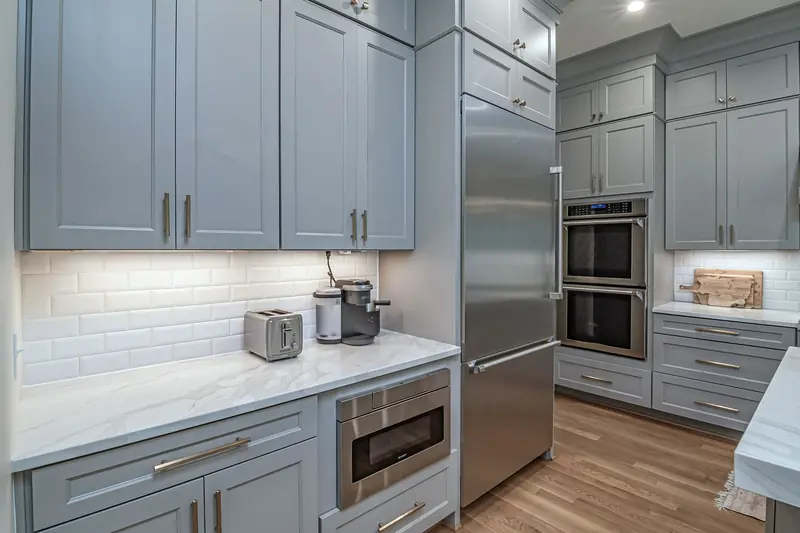
Knobs, pulls or both
A common middle path is knobs on doors and pulls on drawers. Pulls are easier to grab with a full hand, which helps anyone with stiff fingers or arthritis.
-
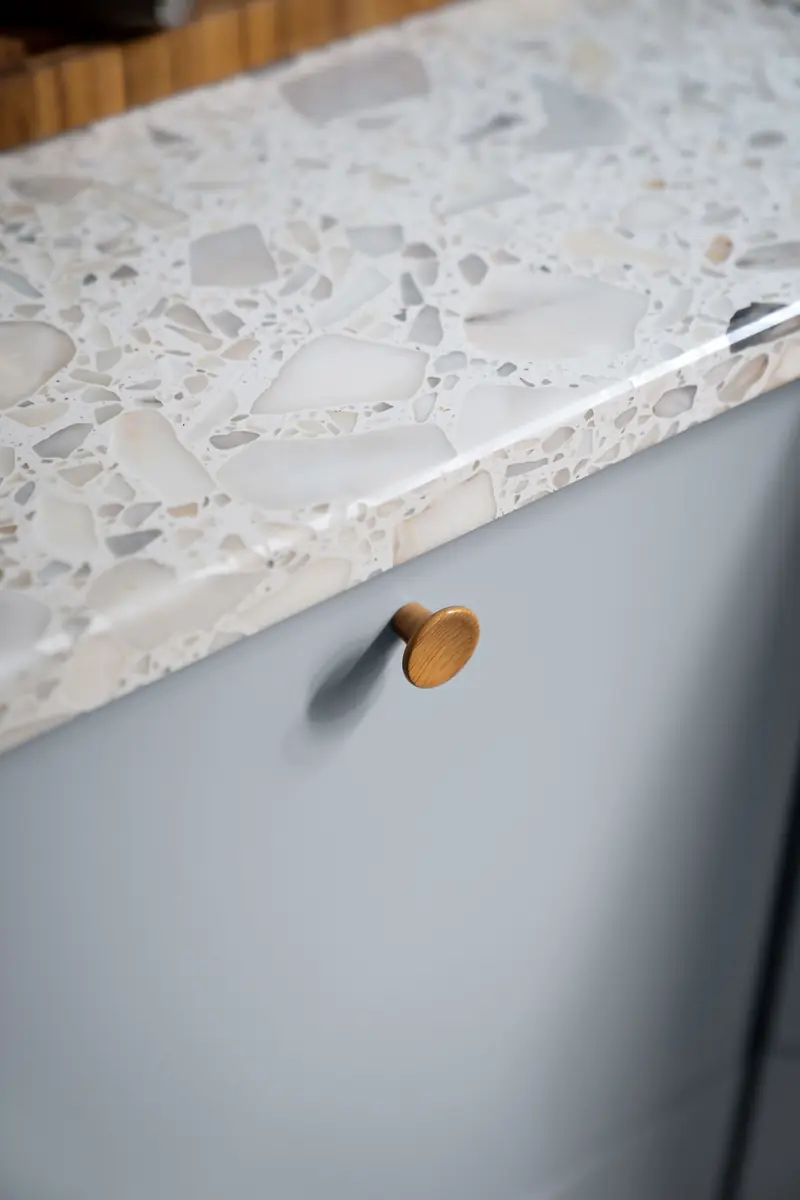
Knobs
A single screw, a small footprint and a classic look. Knobs suit doors and small drawers, and they’re a natural fit with raised panel and Shaker doors in traditional kitchens.
Best for: doors, narrow drawers, traditional rooms
-
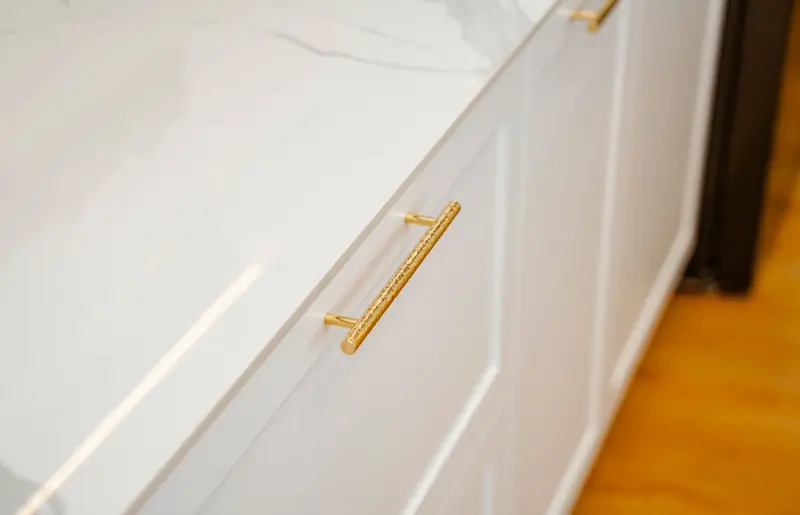
Pulls
Bar, cup and arch pulls give you a full-hand grip, which is easier on heavy drawers full of pots. Longer pulls also add a clean horizontal line to slab doors.
Best for: drawers, tall doors, modern rooms
Sizing pulls to your drawers
A reliable rule of thumb: a pull should be about one-third the width of the drawer. Round to the nearest standard size.
| Drawer or door | Pull size (center to center) | Notes |
|---|---|---|
| Under 12" wide | Knob, or a 3"–3¾" pull | Narrow and spice drawers |
| 12"–18" wide | 4"–6" | Most standard drawers |
| 18"–24" wide | 6"–8" | Common sizes are 6¼" and 7½" |
| 24"–30" wide | 8"–10" | Or two knobs on a deep drawer |
| 30"–36" wide | 10"–12" | Or two smaller pulls |
| Over 36" wide | Two pulls | Center each one on its half of the drawer |
| Tall pantry door | 12" or longer | Mounted vertically |
Pulls are sold by center-to-center size, the distance between the two screw holes. The overall length is longer, so check both when comparing.
Where the hardware goes
Consistent placement matters more than the exact spot. A drilling template keeps every piece lined up across a run of cabinets.
Doors
- Always on the side opposite the hinges
- Base cabinets: upper corner, about 2½"–3" from the top edge
- Wall cabinets: lower corner, about 2½"–3" from the bottom edge
- On Shaker doors, center the piece on the stile, the vertical part of the frame
Drawers
- Center pulls side to side on every drawer
- On slab fronts, center top to bottom as well
- On Shaker fronts, center on the top rail or the panel, and stay consistent
- On deep pot drawers, set the pull a few inches below the top edge
Tall doors and corners
- Center pantry pulls roughly 36"–42" from the floor
- Keep pulls on neighboring doors at matching heights
- Check that hardware on doors meeting at a corner won’t collide
- Make sure pulls clear the dishwasher and range when doors swing open
Five finishes and how they live
The right finish depends on your door color, your faucet and how much fingerprint-wiping you’re willing to do.
-
Matte black
Strong contrast on white and light doors, a quiet match on dark ones. It hides smudges better than polished metals, but pieces near the sink can show hard-water spots.
-
Brushed brass
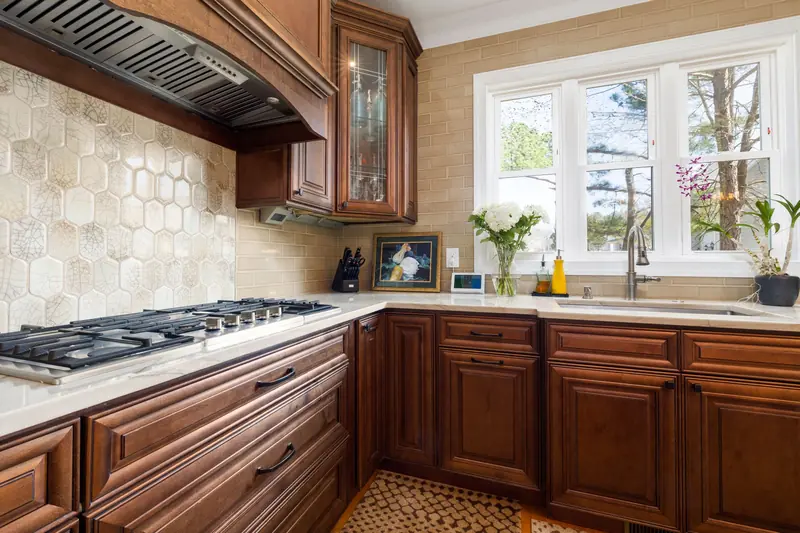
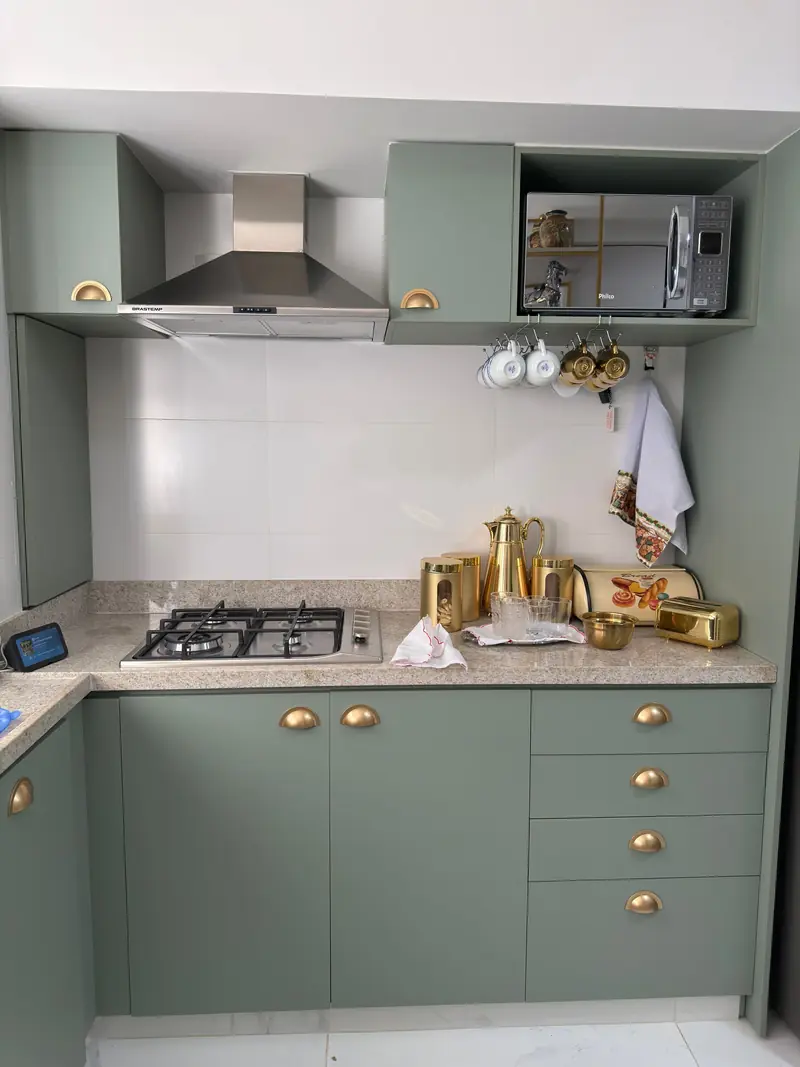
A warm gold tone that looks especially good on navy, green and white doors. Lacquered brass keeps its color; unlacquered brass darkens to a patina over time.
-
Satin nickel
A soft, warm silver that hides fingerprints and water spots better than almost any finish. It sits comfortably beside stainless steel appliances.
-
Polished chrome
Bright, cool and easy to wipe, but it shows every fingerprint. It pairs well with chrome faucets, white doors and crisp modern or retro kitchens.
-
Oil-rubbed bronze
A dark brown finish with coppery highlights for traditional and rustic kitchens, especially with cherry or oak. Some versions wear lighter at the edges by design.
-
Mixing metals
Two finishes can work together, such as brass on the island and black on the perimeter. Keep it to two, and repeat each one elsewhere in the room.
Hinges, crown molding and finishing trim
Every refacing job includes new hinges. Most are concealed, European-style hinges mounted inside the cabinet, so nothing shows on the outside of the door. They adjust in three directions, which lets the installer line up the gaps between doors precisely.
Soft-close is the upgrade people notice first. A small damper catches the door in the last few inches and pulls it shut quietly, so nothing slams. Soft-close drawer glides are available too.
Trim finishes the wall cabinets. Crown molding runs along the top and gives the cabinets a built-in look. Light rail runs along the bottom and hides under-cabinet lighting from view. A valance spans the gap over the sink window and ties the cabinets on either side together.
- Concealed hinges with three-way adjustment
- Soft-close hinges and drawer glides
- Crown molding along the top of wall cabinets
- Light rail and valances, matched to your doors
Cabinet hardware questions
Have a question we didn’t answer? Call (630) 555-0140 or send us a note.
What size pulls should I use on drawers?
Aim for a pull about one-third the width of the drawer: roughly 5" on a 15" drawer, 8" on a 24" drawer and 10"–12" on a 30"–36" drawer. Drawers wider than 36" usually look best with two pulls.
Where should knobs go on cabinet doors?
On the side opposite the hinges: in the upper corner of base cabinet doors and the lower corner of wall cabinet doors, about 2½"–3" from the edge. That puts each knob where your hand naturally reaches.
Should cabinet hardware match my faucet?
It doesn’t have to match, but it should look intentional. Matching the faucet is the safe choice, and a clear contrast, like black pulls with a stainless faucet, also works. Avoid finishes that are close but not quite the same, such as two slightly different golds.
Are soft-close hinges worth it?
For most households, yes. They stop doors from slamming, cut down on wear from impact and keep small fingers safer. They can be added to any refacing project.
Can I reuse my existing hardware?
You can, if you like it and it suits the new doors. Since the new doors are drilled fresh, your pulls can be mounted at whatever spacing they need. Most people choose new hardware to finish the new look.
See your kitchen with new doors before you commit
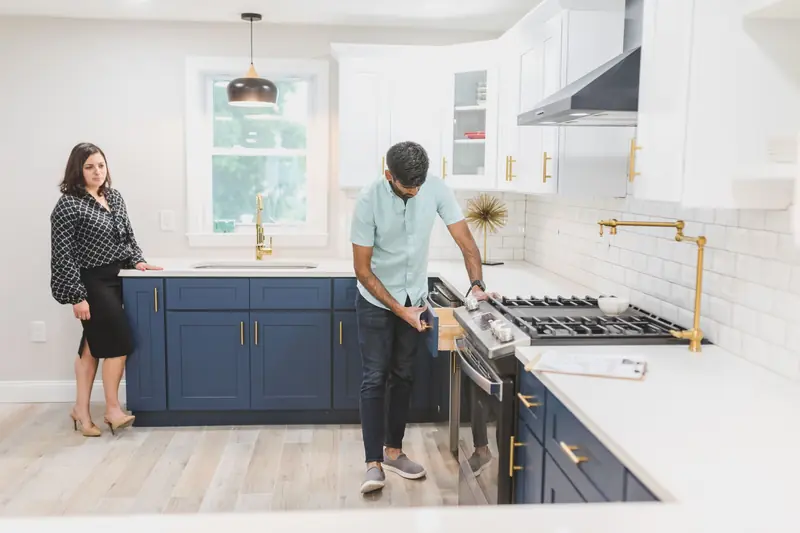
A designer comes to your home with door samples, finishes and hardware, measures your cabinets and leaves a written, itemized quote. It’s free, and there’s no pressure to decide that day.
- Tell us a little about your kitchen
- Pick a time for your in-home design visit
- New doors installed in 3–5 days